Install TutorialKit with the CLI
Prerequisites
- Node.js -
v18.18.0or higher. - Code editor - We recommend StackBlitz or VS Code.
- Terminal - TutorialKit scaffolding script is accessed through a command-line interface (CLI).
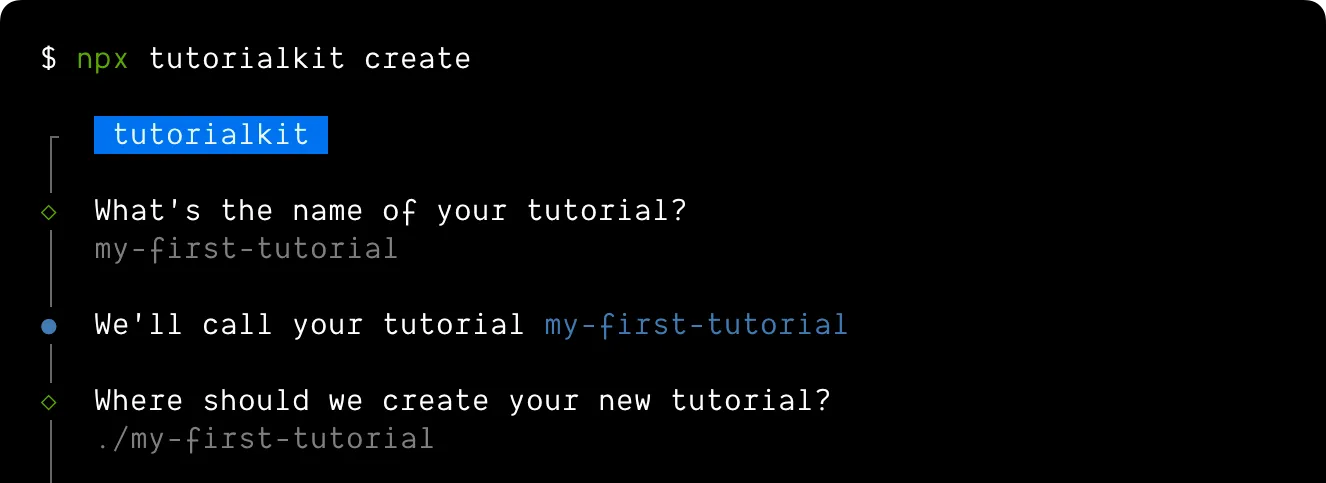
1. Installation
Run the following command in your terminal to start the install wizard:
# create a new project with npmnpm create tutorial# create a new project with pnpmpnpm create tutorial# create a new project with Yarnyarn create tutorialYou can run this command anywhere on your machine, so there’s no need to create a new empty directory for your project before you begin. If you don’t have an empty directory yet for your new project, the wizard will help create one for you automatically.

2. Starting TutorialKit
After the installation is complete, navigate to the project directory and start the development server:
npm startpnpm startyarn startThis will start the development server on the 4321 port. You can now visit http://localhost:4321 in your browser to see your new TutorialKit project.
Editor configuration
TutorialKit is build with Astro and uses markdown or MDX files for content. You can use any code editor to work with TutorialKit, but if you use VS Code or StackBlitz new generation editor, we recomment installing the following extensions for the best experience:
- MDX - Language support for the MDX files
- Astro - Astro support (useful when customizing TutorialKit with custom components)
Troubleshooting
- If running the
startcommand throws a “command not found” error, make sure you have run thenpm install,pnpm install, oryarn installcommand. The TutorialKit wizard should have already done this for you, unless you have asked it not to. - If the
4321port is already in use, the development server will start on the next available port. You can see the port number in the terminal output when you run thestartcommand.